
It Starts With a Preset
How I save time in my monochrome film workflow by starting with a simple Lightroom preset

Standardisation and presets
One of the things I like about shooting film is how self-contained it is: you can’t see your images until you finish a roll, and the roll with all its frames is developed together. I like that consistency and predictability of approach.
It’s a constraint that extends beyond a single roll if you store them up and develop several together. Coming back from a trip I might develop five rolls in the same tank. All your eggs in one basket and all that. Luckily, my dead-developer blank-roll disasters have been few and far between, and limited to single rolls.
Digitising the negatives
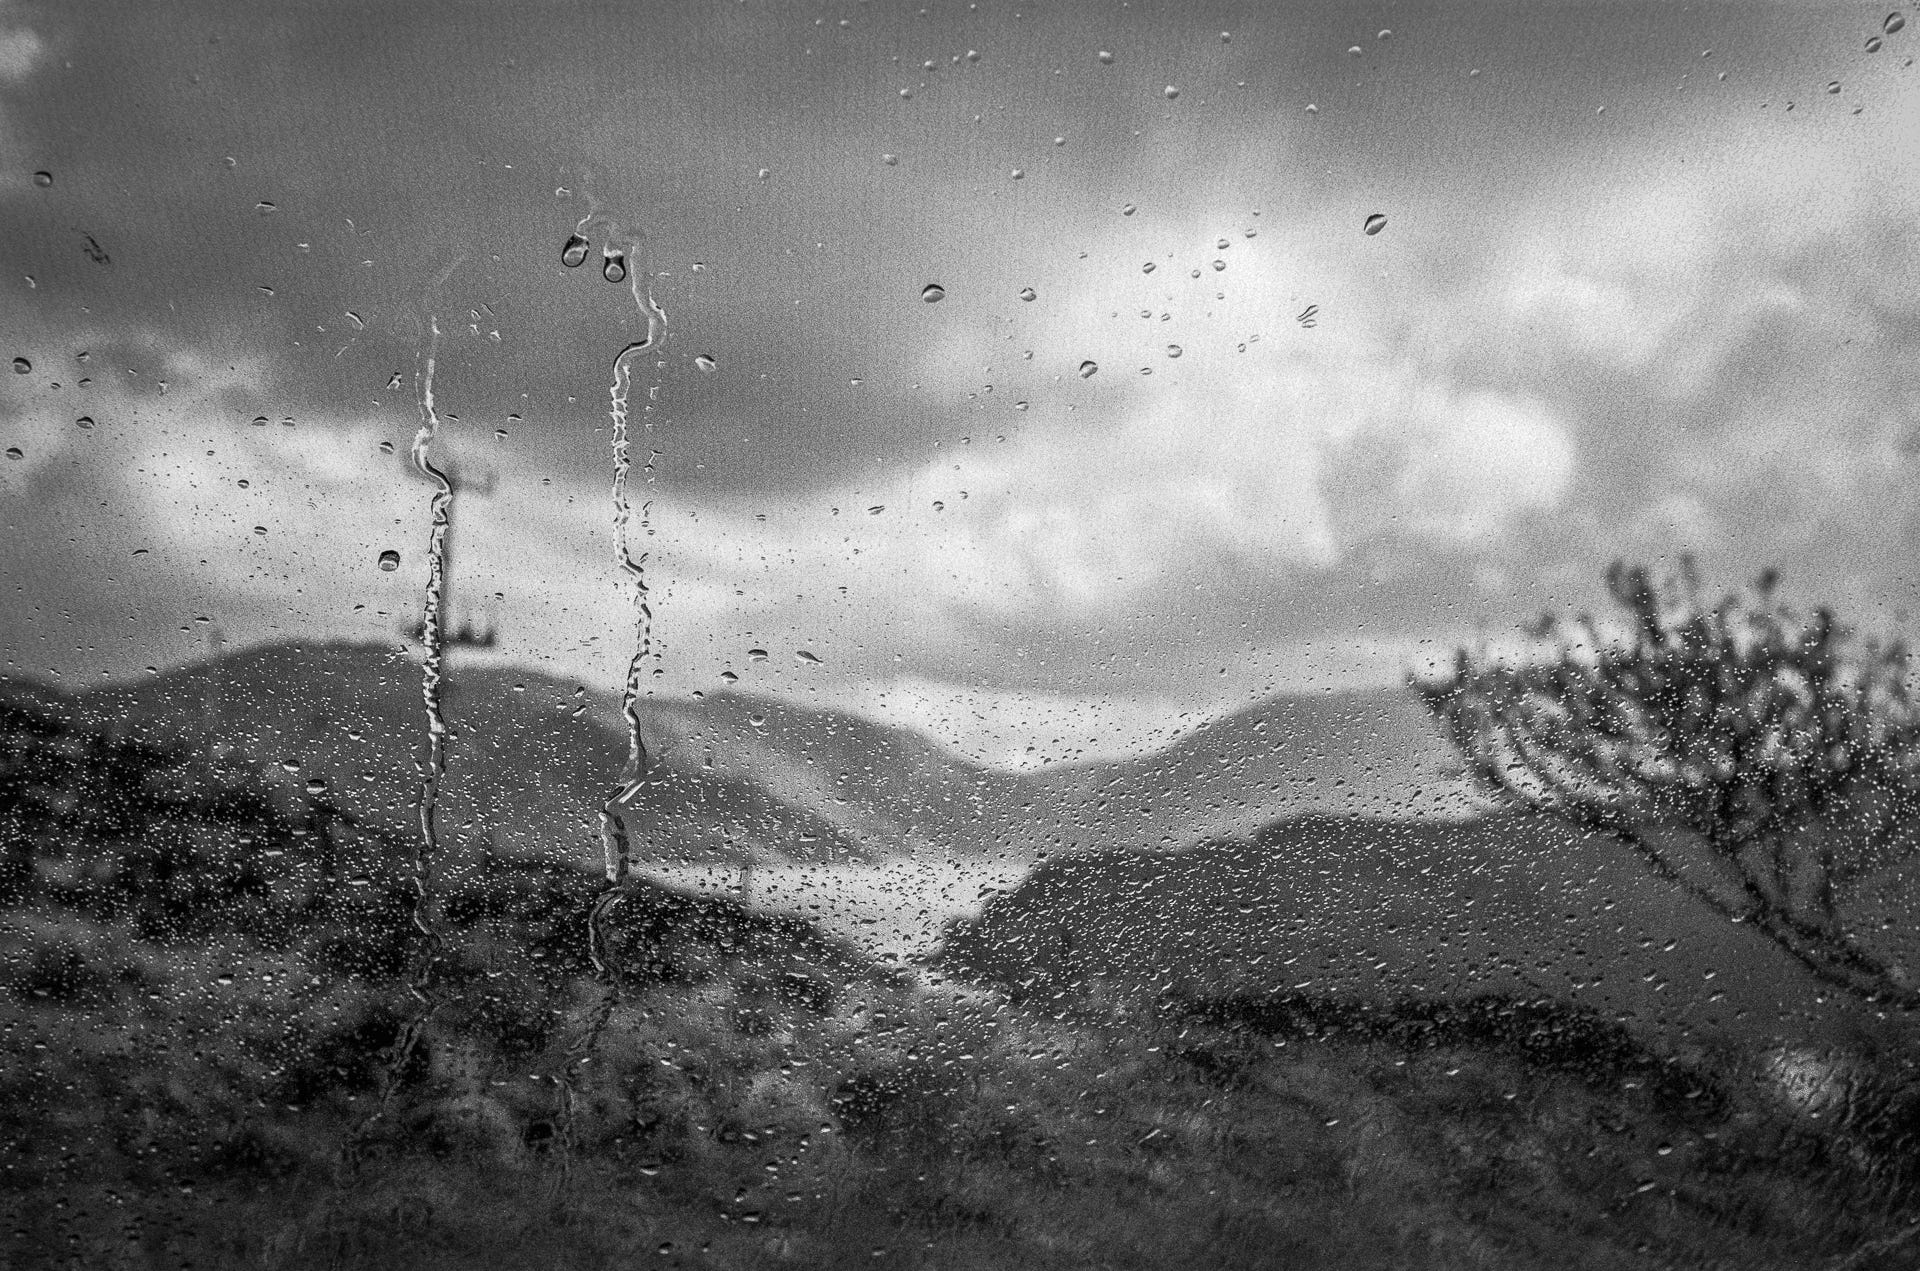
When it comes to negative digitisation, I follow a very standardised process that produces predictably exposed inverse images of the negs. I then apply a standard preset in Negative Lab Pro (a Lightroom Classic plugin) that converts the images to positive JPGs in a way that I like.

This also includes applying an Adobe supplied lens-correction profile for the Nikkor 60/2.8 D macro lens I use on the Nikon D810.
From selection to presets
So far, so normal. In the past, this is the point where I would go through a roll and select the images that looked like keepers, then spend what felt like — and probably was — considerable amounts of time in Lightroom ‘developing’ each one until I was happy with it.
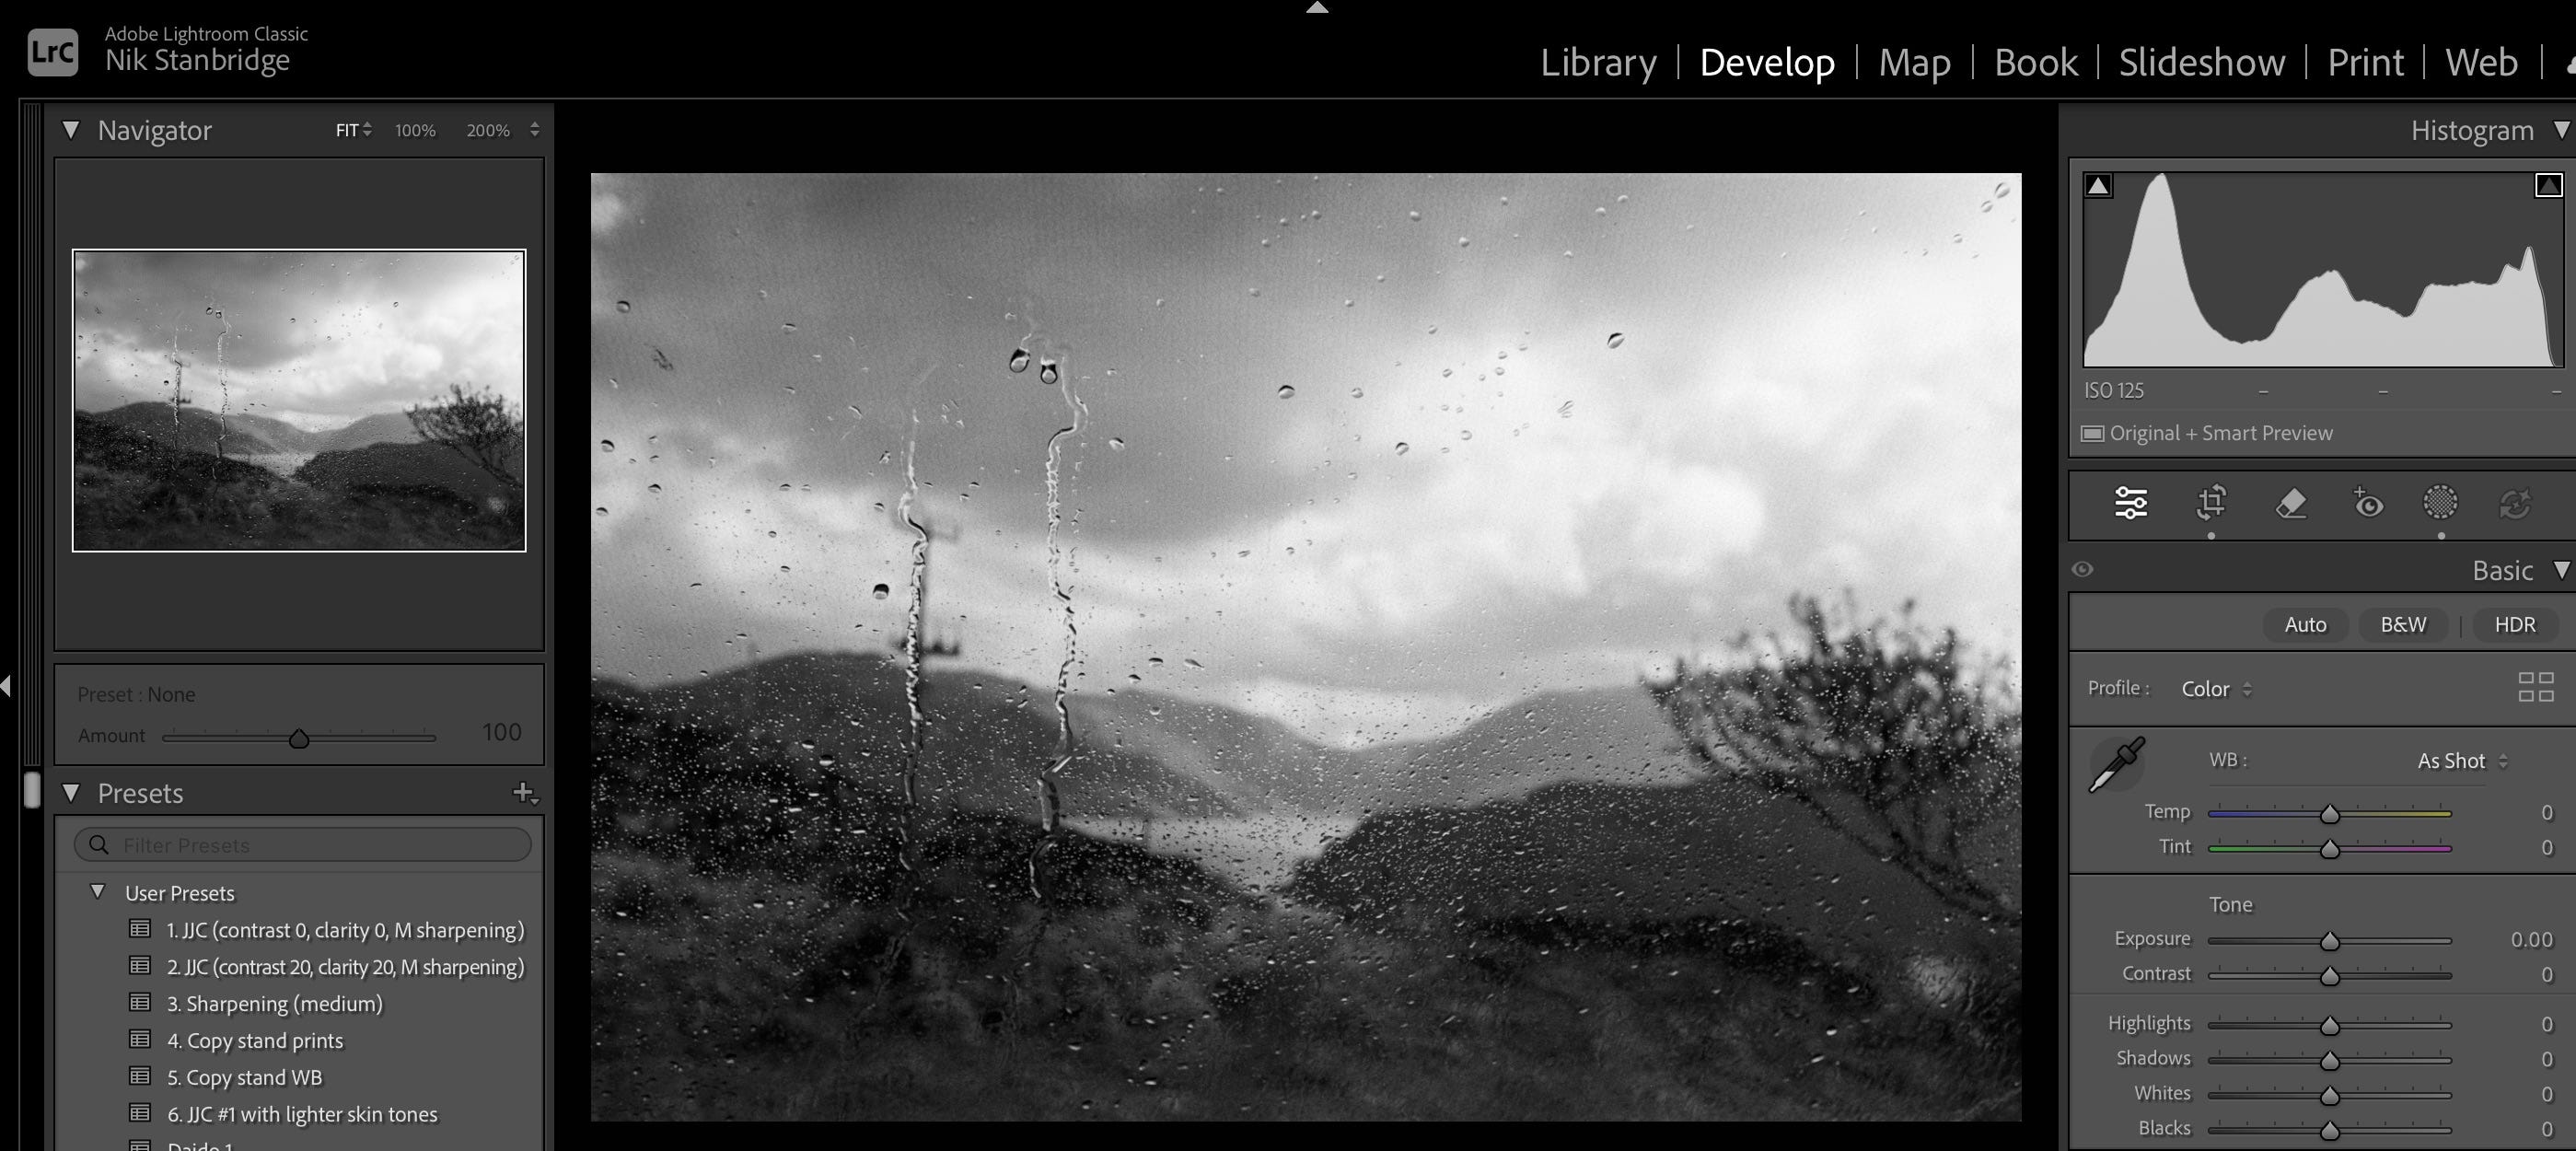
It dawned on me that the basic adjustments I was making were nearly always the same. This was true within a roll, but also across the board. And I shoot FP4, HP5, Foma 100, Adox 100 developed in Rodinal and Perceptol. All monochrome of course. Out of that realisation, a preset was born.
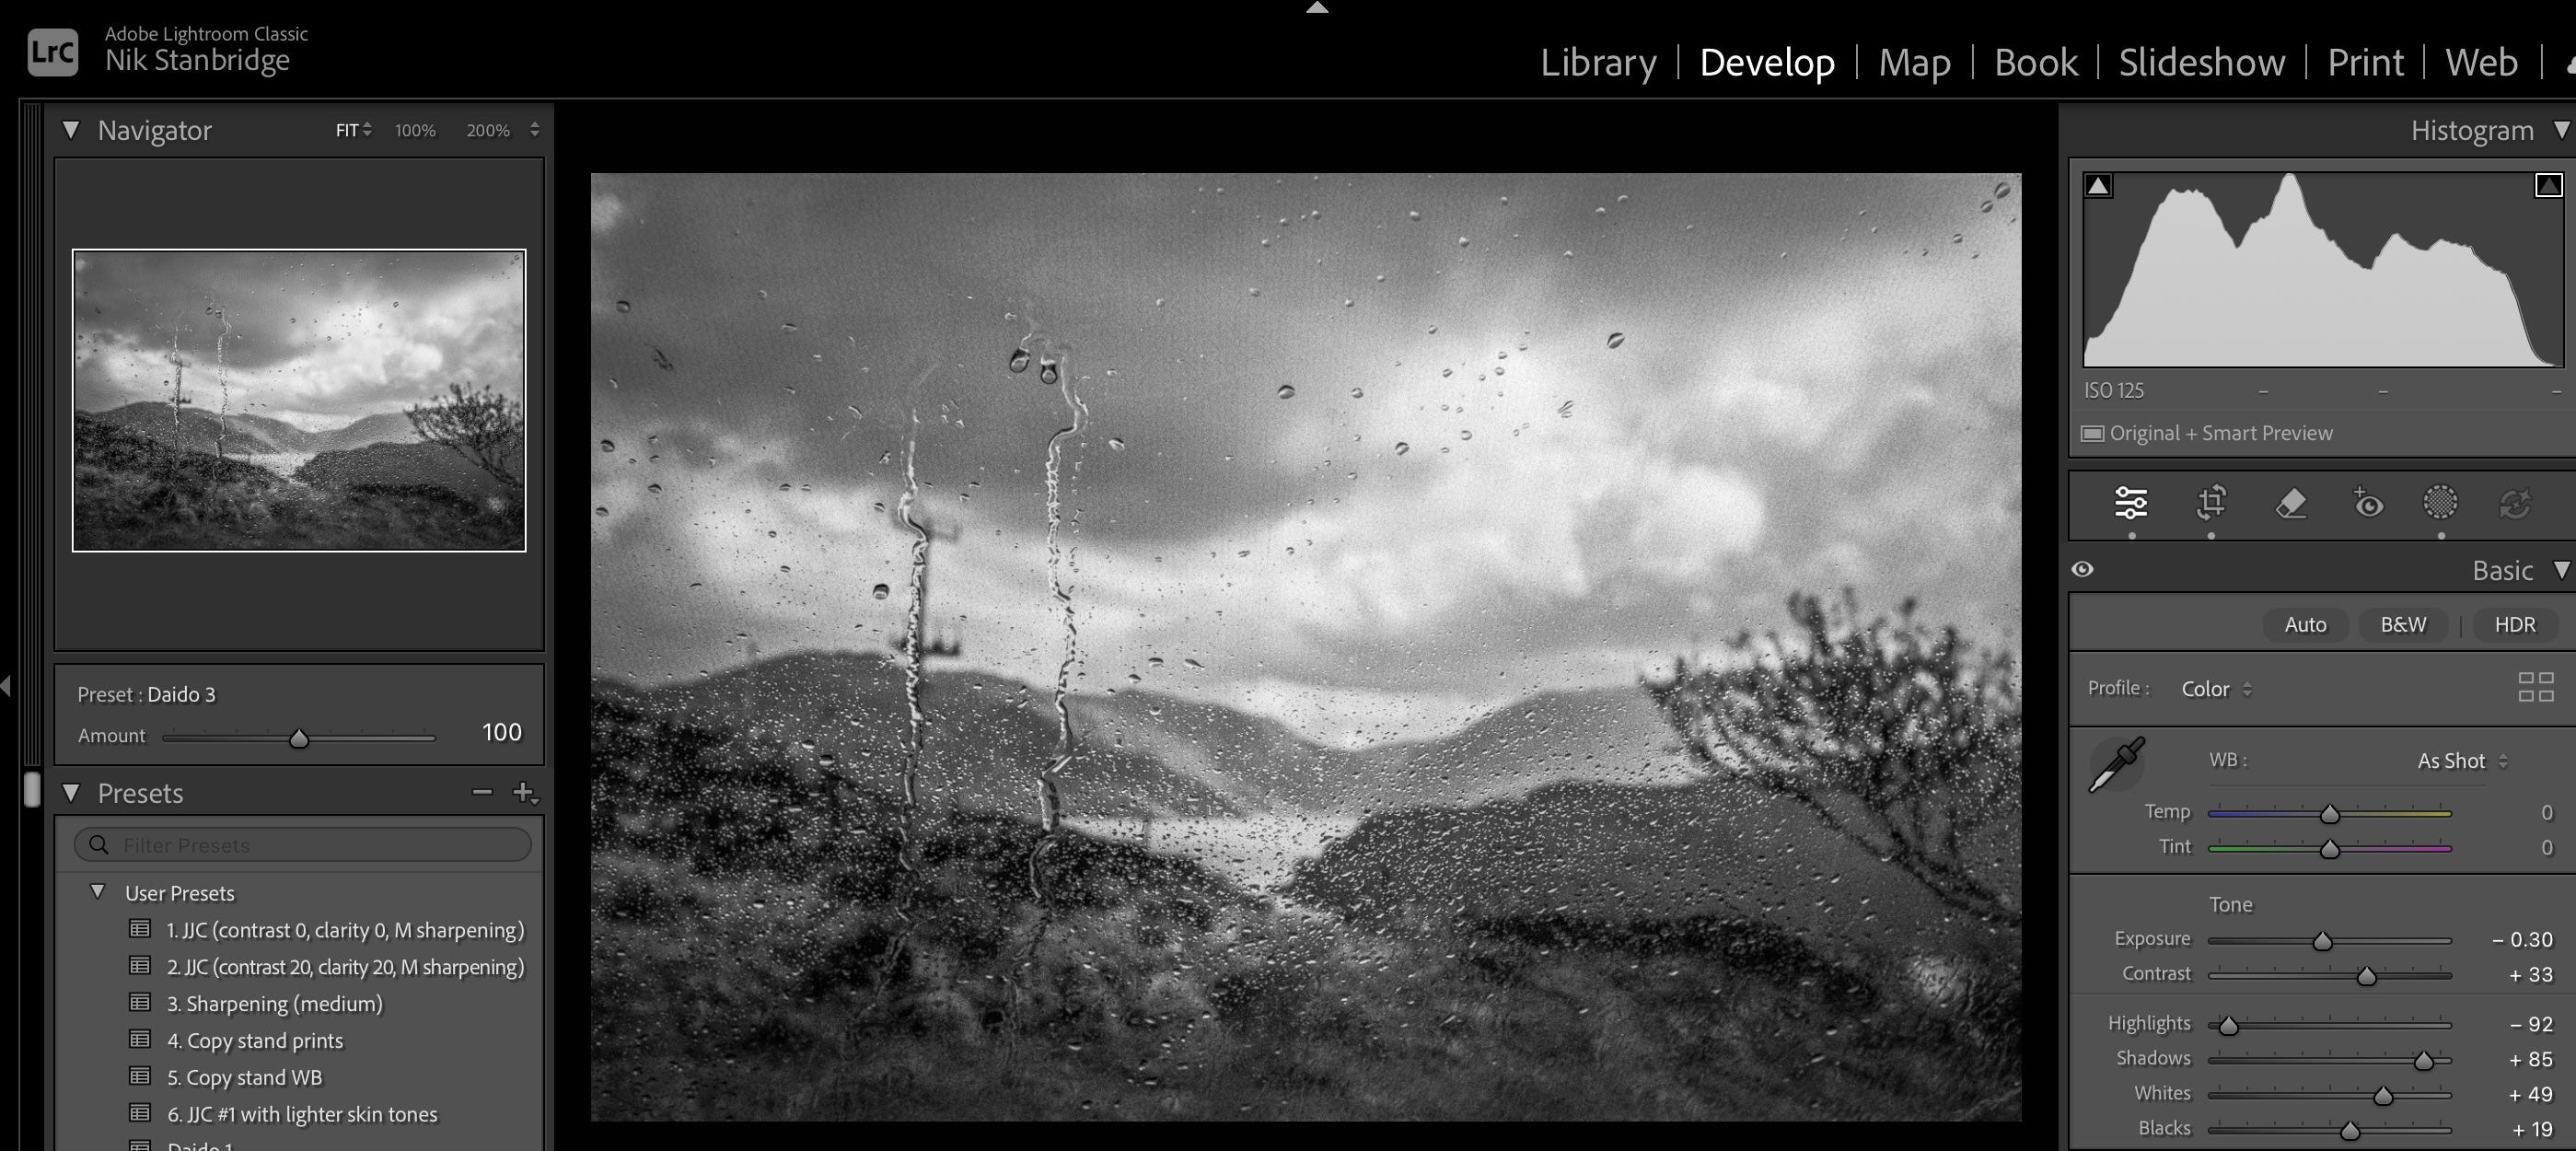
At first it preset contained all sorts of settings, but I gradually pared it down to just two: highlights minus 50 and shadows plus 50.
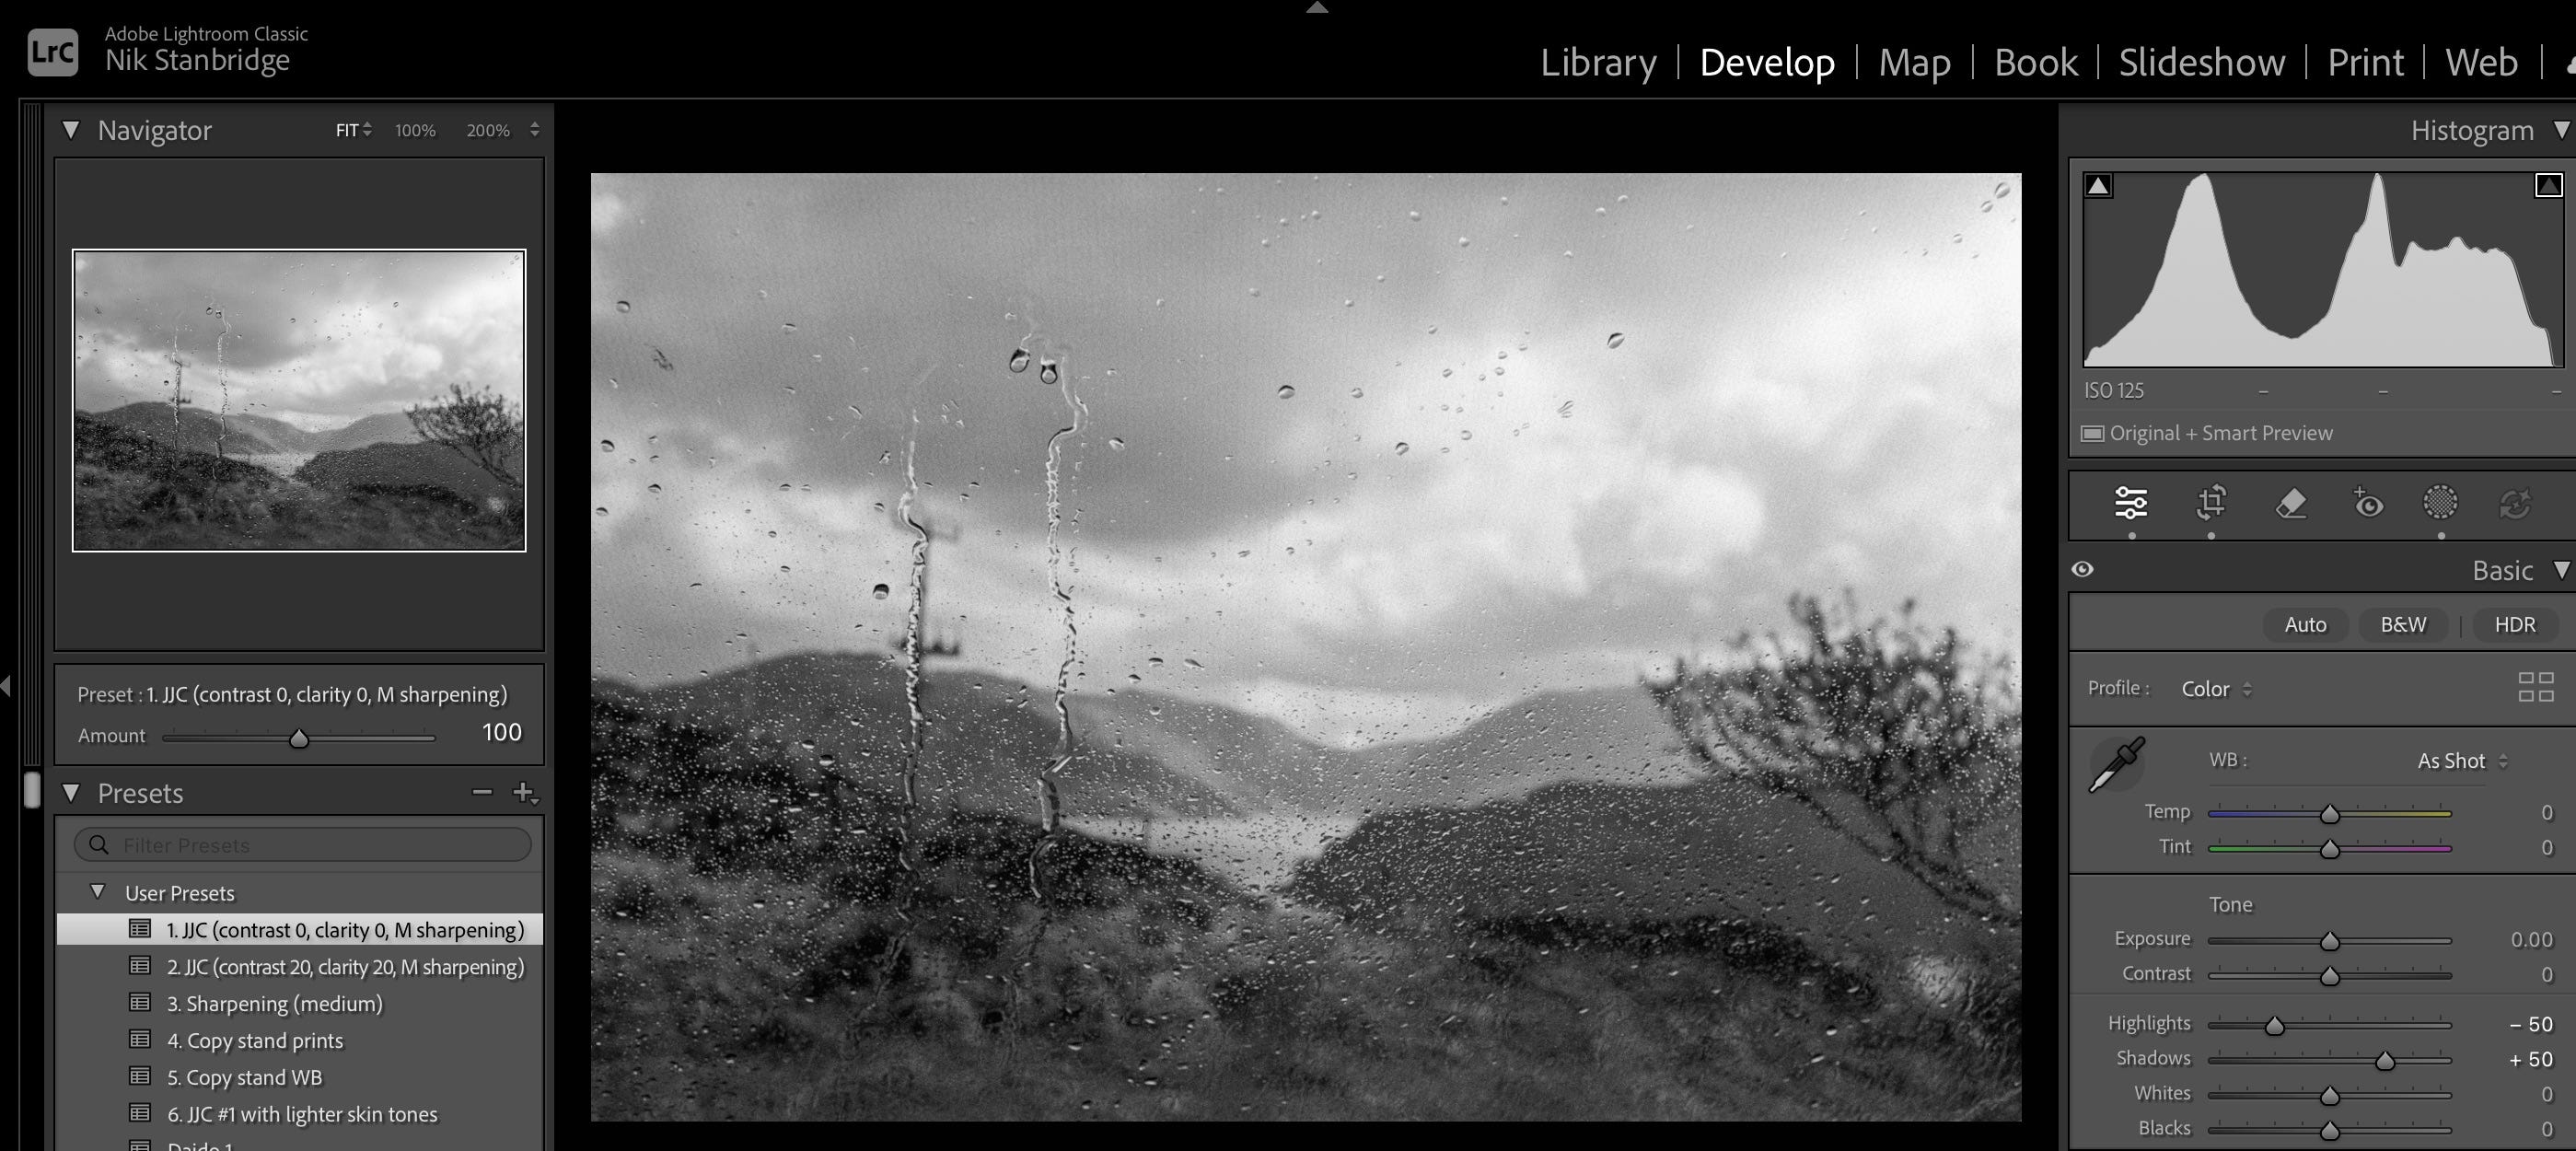
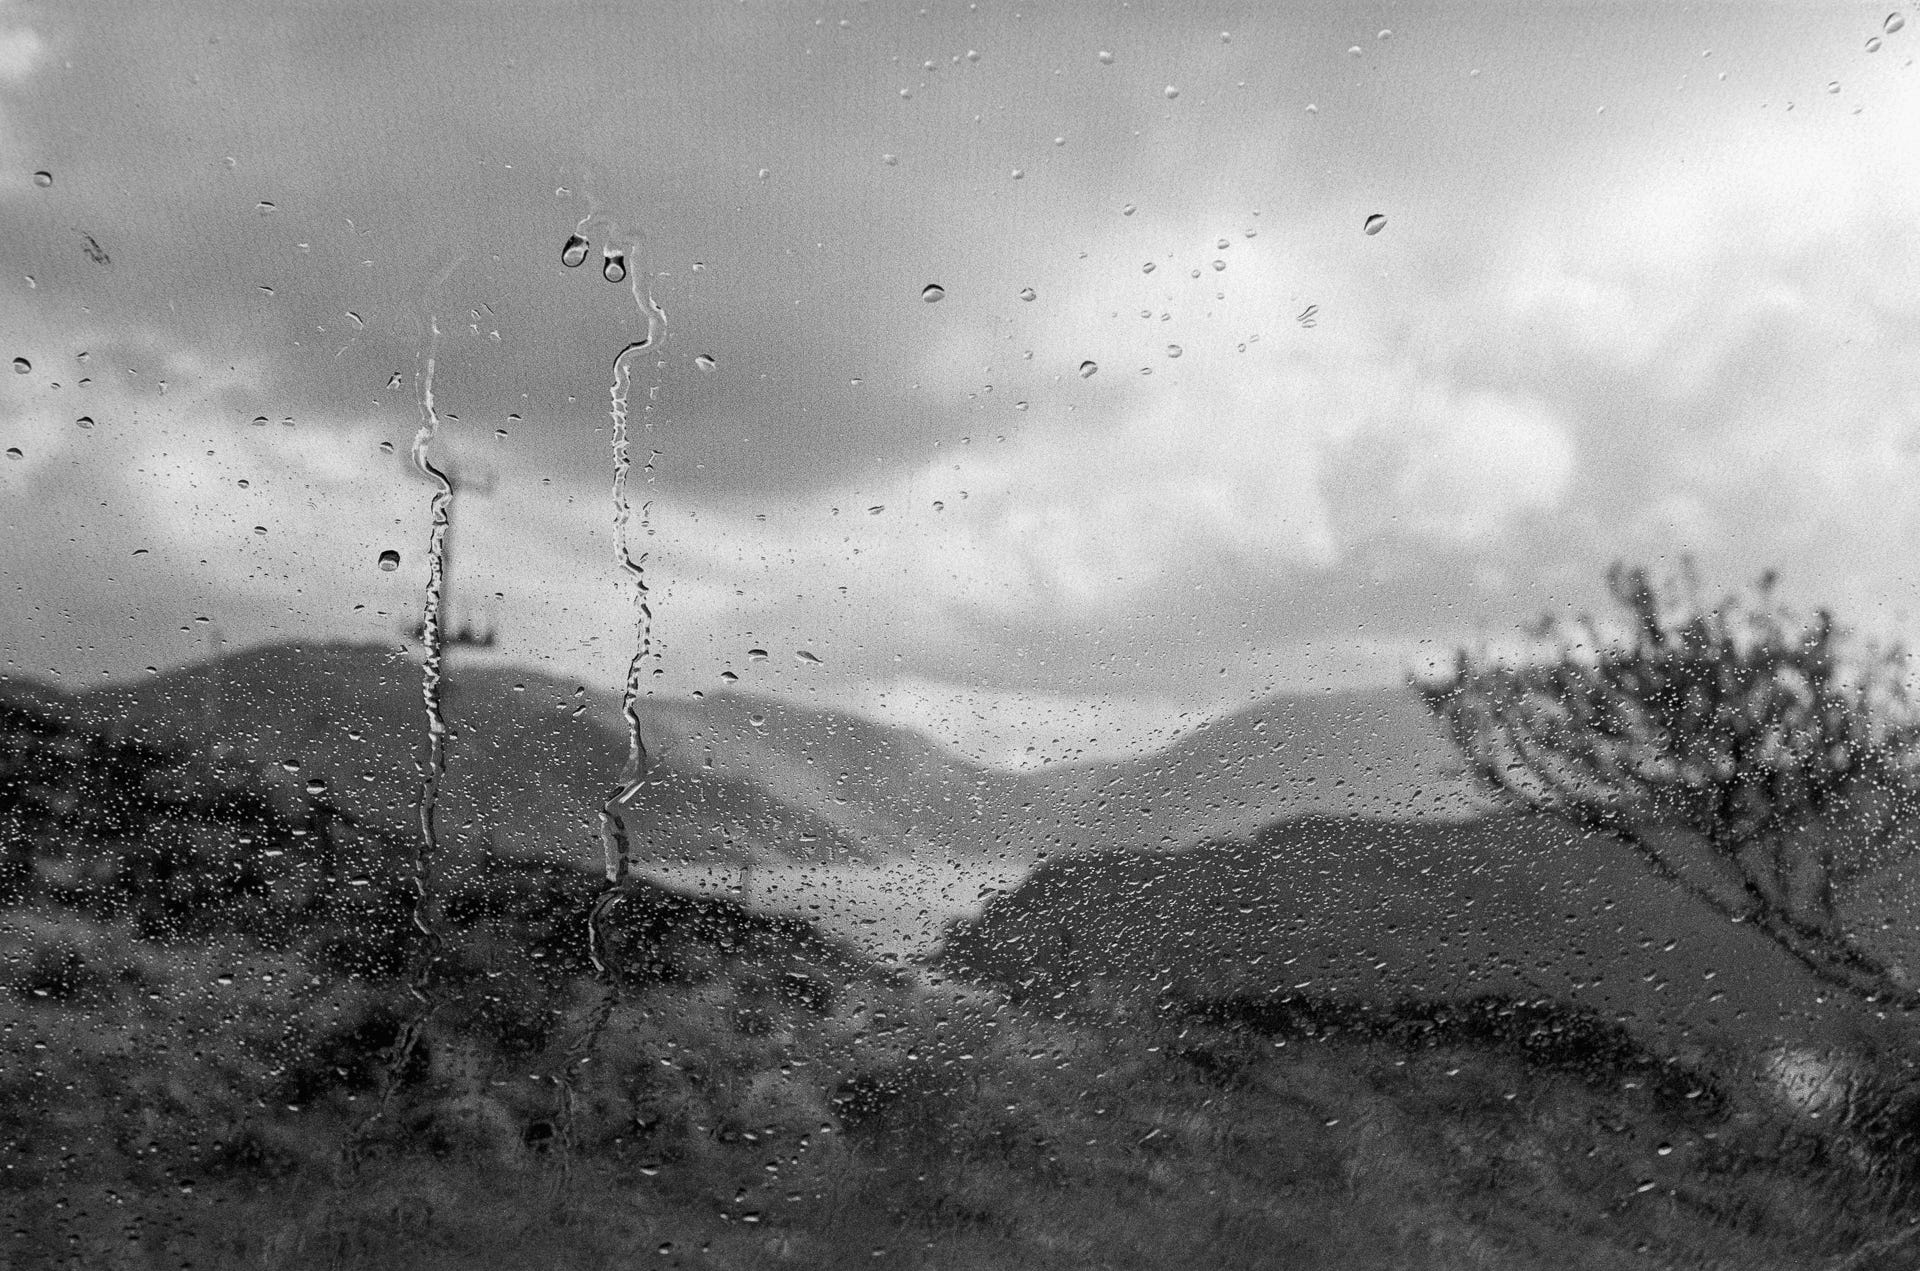
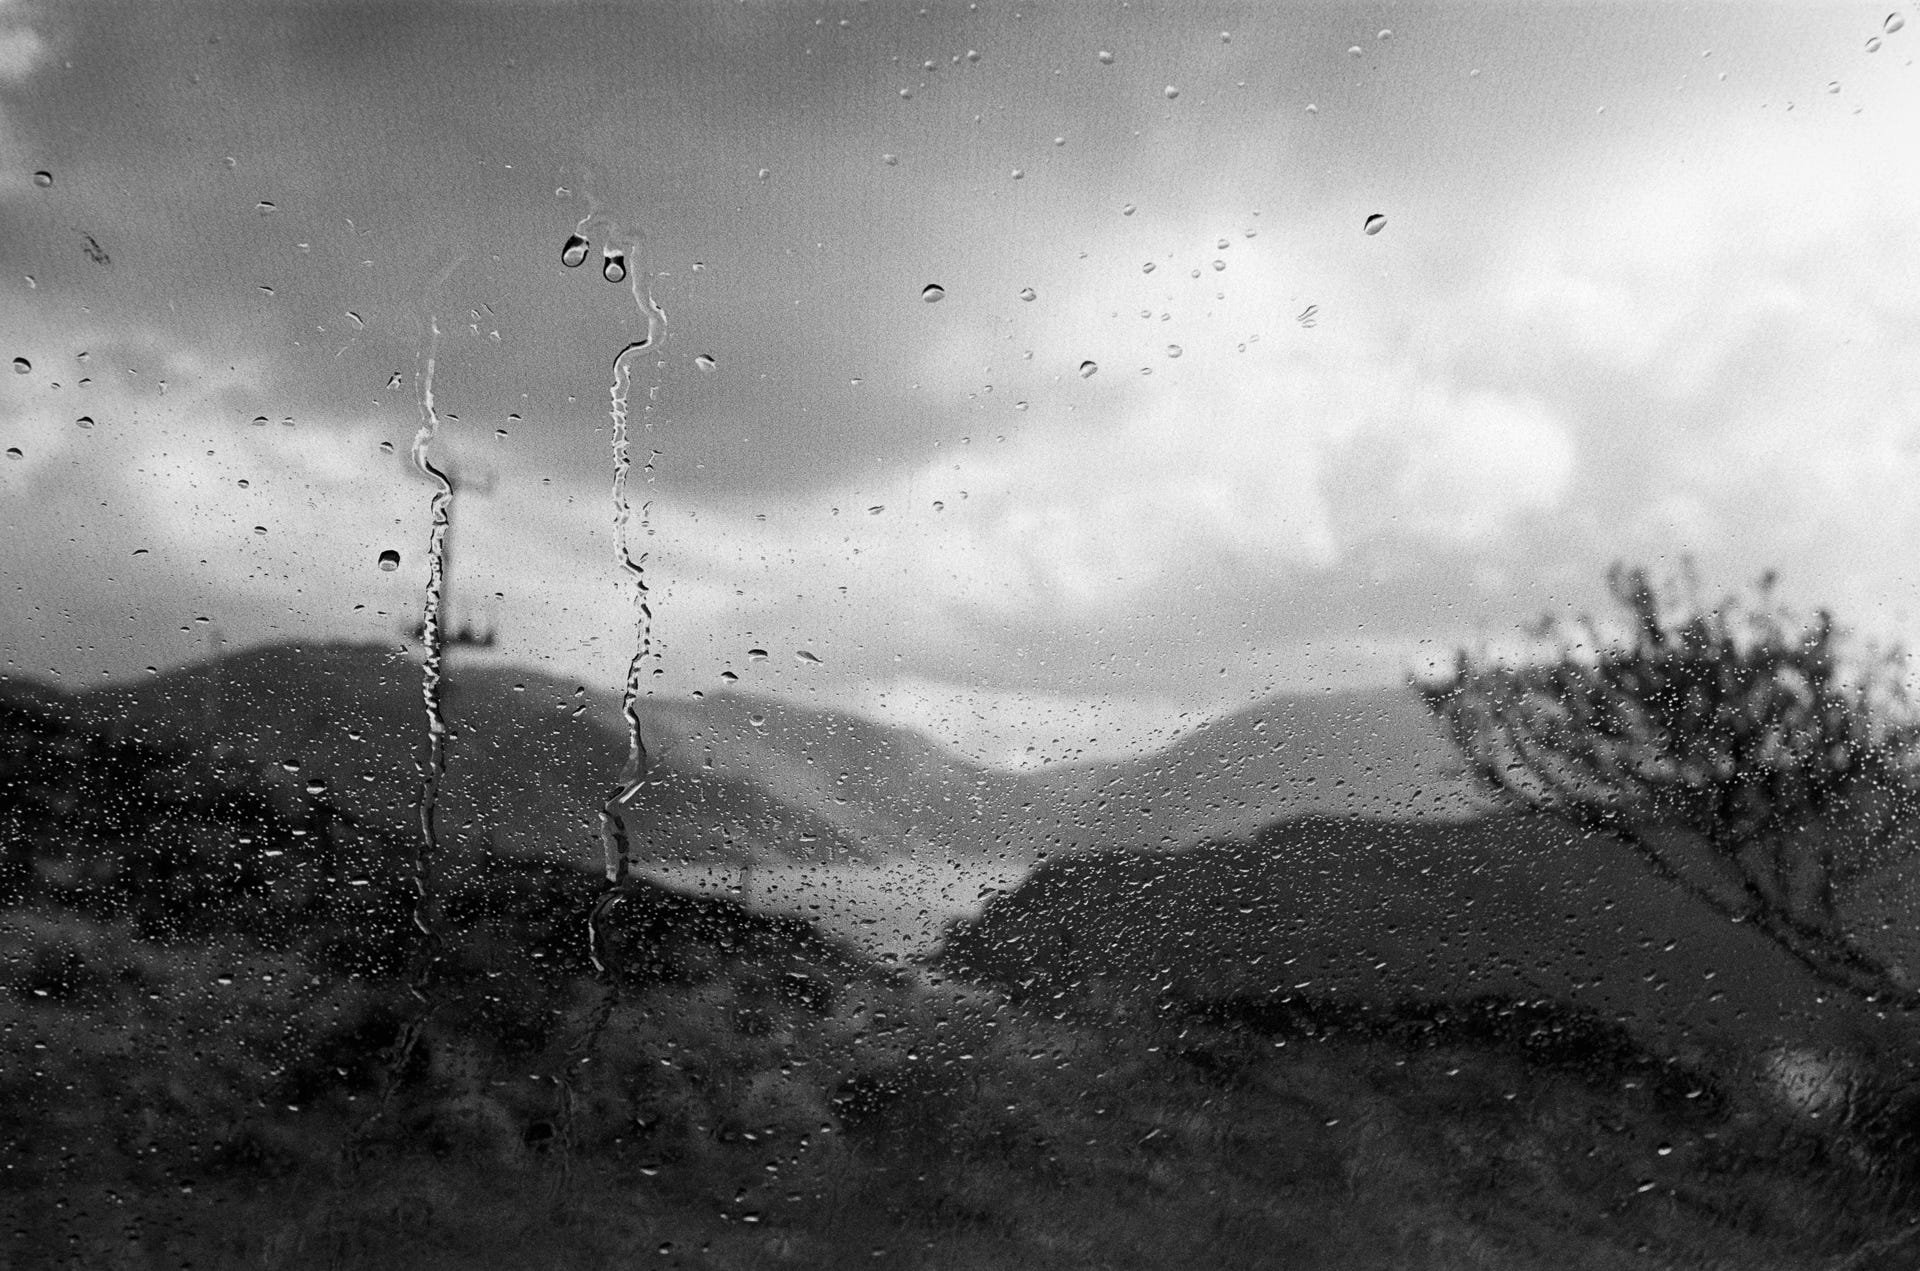
I now apply this preset as part of my JPG creation process so that when I do my initial assessment of keepers, I’m already looking at the modified version. The purpose of this simple and basic adjustment is to lift the shadows and subdue the highlights; two image characteristics that I think are ‘damaged’ by the digitisation process; and, crucially, because its what I like as my starting point. Yours will reflect your own image preferences. It’s unlikely to be what I want the final image to look like, but it’s the starting point I want for all my images. But it’s the huge time-saving element that’s most important to me.
Darkroom parallels
And that’s the thing - it’s a time save. It isn’t some monstrous bit of ‘digital manipulation’, straying from the supposed purity of the analogue process. It’s more like what I used to do in the darkroom: running off quick 5×7s of favourite frames on, say, grade 3 paper.
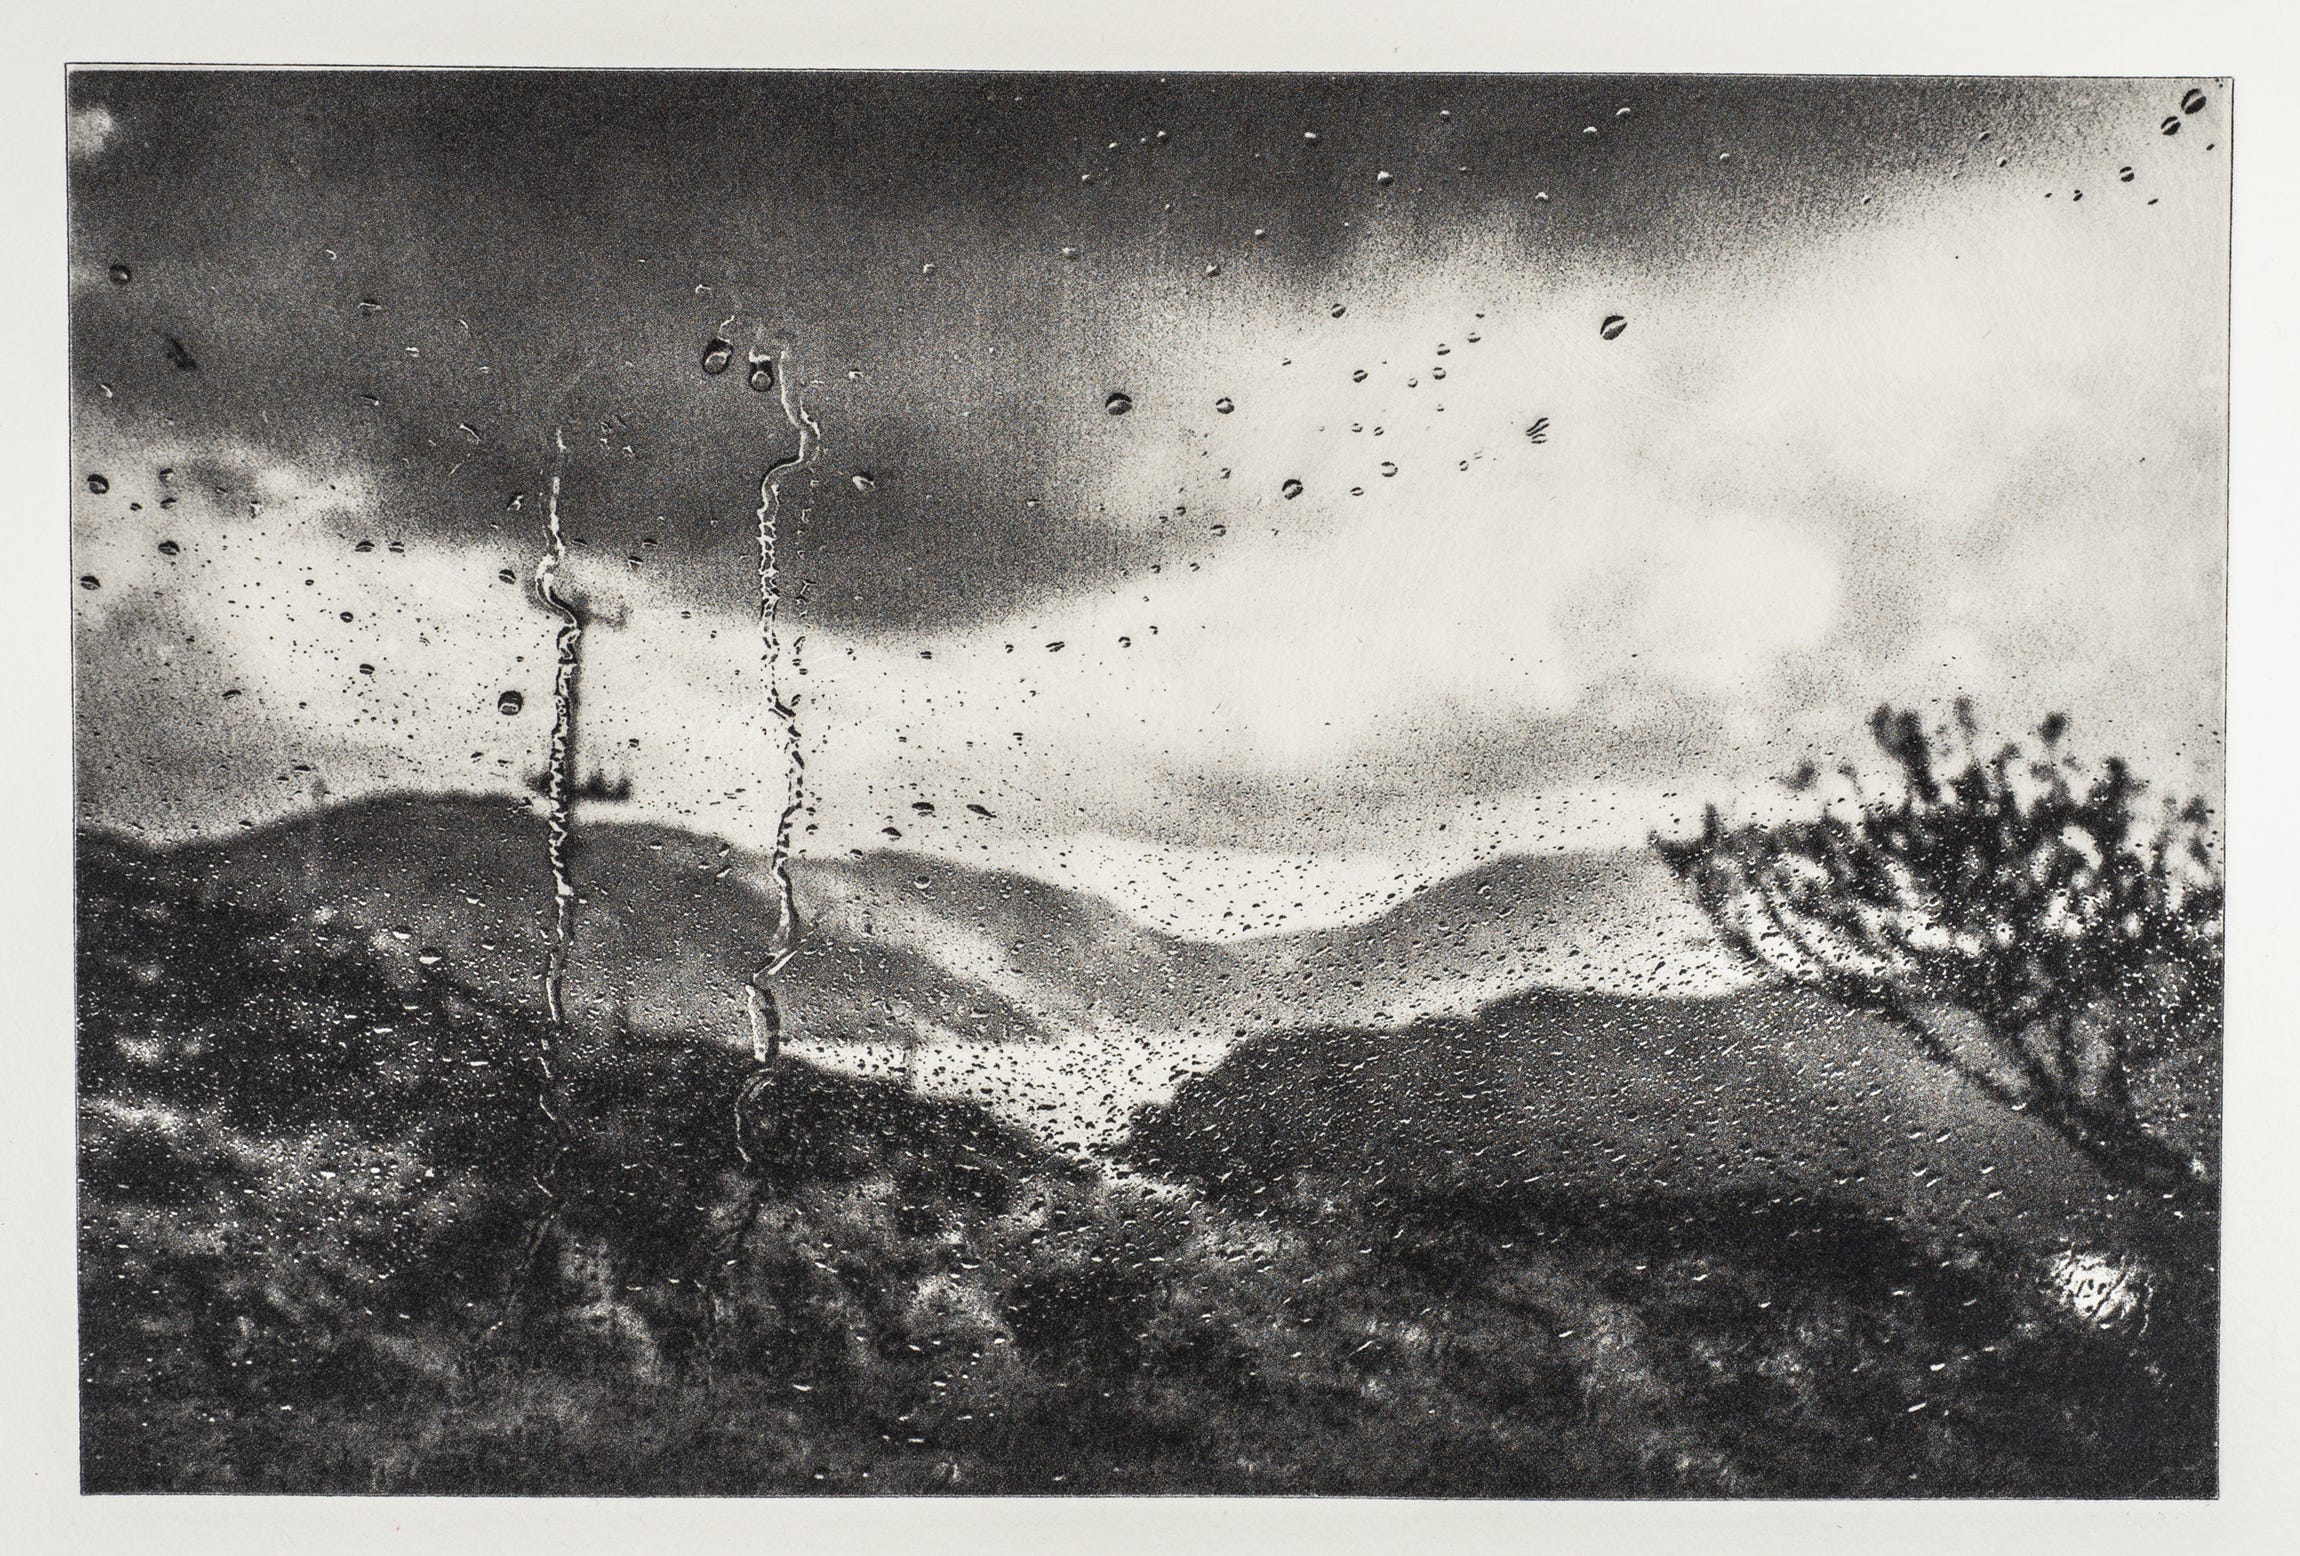
I see the digitised negative as raw material — the basis for making the image (I’m sure all photographers think this way too). My printed work these days, such as it is, takes the form of photopolymer etchings: a long and involved process with acetate inter-negs, UV-sensitive plates, pigment ink, damp cotton rag paper, and an ancient cast-iron press. Each print is unique, with no notion of purity at all.
And nobody would accuse Moriyama of manipulation in producing his heavily worked prints; he was simply printing his images in the way he saw the world. A lot of nonsense is spoken about the sanctity of film stocks and their supposed inherent qualities. That would only hold water if there were just one developer, one method of development, and if all prints were still made exclusively in the darkroom.
Building on the basics
I’ve since extended my basic preset with a few others that build on its settings to help me deal with typical negative issues such as under- or over-exposure, or low and high contrast. For many of my images, these adjustments are enough, as my overall aim is to do as little as possible in Lightroom — to keep the digital side minimal.

A suggestion
That’s it. If you find yourself spending too much time fiddling in Lightroom, it’s worth looking at the adjustments you nearly always make and trying them out as a preset on all your images. It might take a bit of trial and error, but you may be surprised at how much time and effort it saves.
Think of it as a starting point, not necessarily the finished article.
Loved these shots
Great advice - and stunning prints!